Friday, April 30, 2010

Creating Simple Search form in Oracle ADF

Hi all,

Creating a search form in Oracle ADF is a matter of just few minutes just drag and drop the View Criteria and you are ready. Let me show you how easy it is. This post would be helpful for ADF newbies and people are coming from Oracle Forms background.

I assumed you have already setup the basic application with Emp EO, VO and Application module
from SCOTT schema in Oracle database. (if not check this post)

In this example:
- We will develop a simple search form which allows user to search employees records by entering Employee No OR by Partial Employee Name e.g Name Contains A .....'%A%'


Step Summary:
1) Define Bind Variables
2) Create View Criteria
3) Create Search Form by dragging and dropping Named View Criteria from Data Control to the Page
4) Refine the Layout

Step 1: Define Bind variables:

- Double click EMPVO in Model project go to query page.
- Expand the Bind variable accordion and click the Green button.


- Define 2 bind variable name and types as following make sure required check box is un-checked
  - EmployeeNo type as Number
  - EmployeeName type as String


Step 2: Create Named View Criteria:

- View Criteria is actually conditions on VOs which you usually define declaratively.
- Expand the View Criteria section in EMPVO page and and click the Green plus sign.

- Give a proper name to your View Criteria
- Click the ( ) Group press Add item and select values as shown in the slide make sure you have selected the bind variables EmployeeNo

- Select the ( )Group again  and Click "Add item" to add another condition and do as shown in the slide.

- Click OK and Save your Application.

Step 3 Create Search Form:

- Create a view activity on adfc-config page flow named as searchEmployees
- Create a simple stretched layout page with applied theme.
- Expand the Data Control panel and Drag and drop the Named View Criteria to the page and choose
Query > ADF Query Panel with Table as shown in the slide

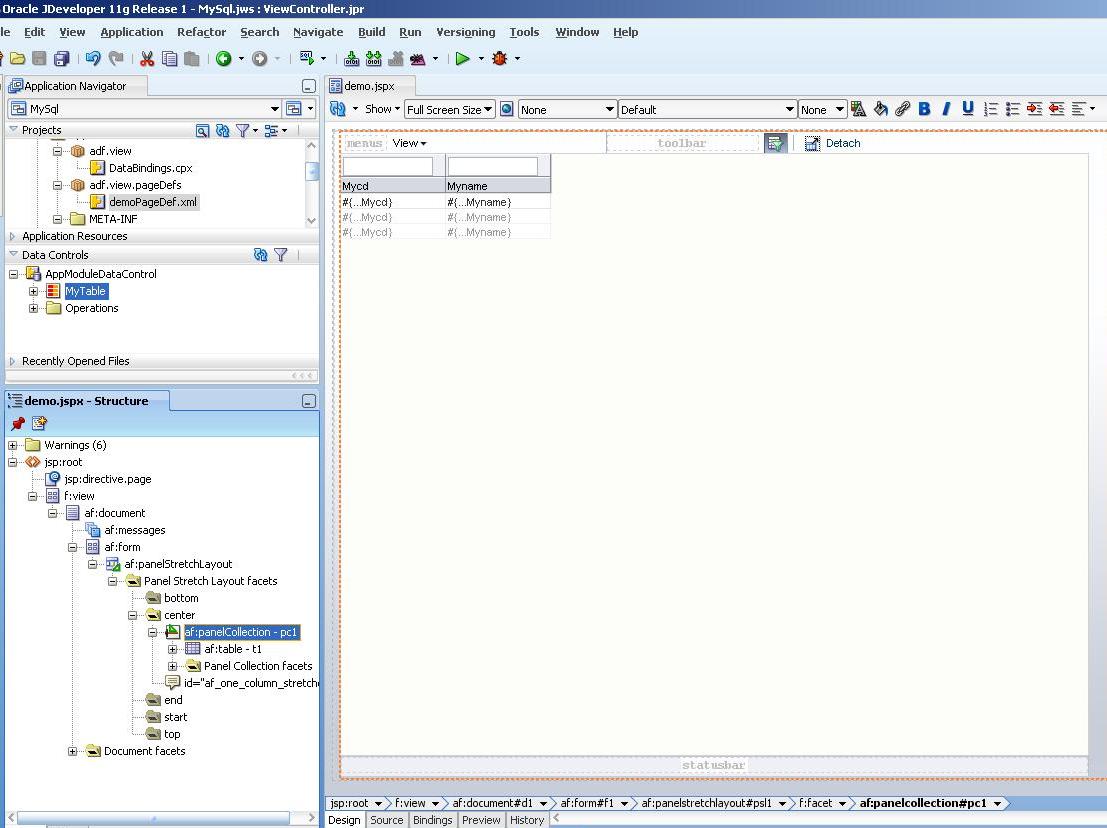
- Your page would look like this

You are done with the search form at this stage right click and test the page

Refine Layout (Optional):

- At search form the labels of the bind variable in the search panel coming Empno and Ename which is not very informative to change the label we will changes the UI Hints in your entity which is EMP double click the EMPEO in the model project.
- Go to attributes page select the Empno field and set the Label under UI Hints as "Employee No" and set the display field as 5.
- Do the same for Ename as Employee name as width as 20

- To stretch the result table on runtime we will add a PanelCollection around our Table component.
- Goto the ViewController project right click the af:table component and Choose "Surround with" and select "PanelCollection" and click OK

- We just added a PanelCollection so we have to change the ResultComponentId reference in the querypanel.
- Select the querypanel component in the Structure window and set the property using the Edit and choose your af:table component

- Set the Headings of the PanelHeader as "Search Employee"

- Run the form enter Employee Number 7788 and press Search Result would be like this

- Enter 'A' in the Employee name fields and Press Search you will get similar results


Feel free to comment.

Download the Workspace
Note: Change the connection settings before running this sample workspace

Cheers,
Baig

Wednesday, April 28, 2010

Using Code Templates in Jdeveloper


Hi all,
Jdeveloper has a pretty nice "Code Templates" feature which helps us to code faster by saving time from extra typing. We can define our common coding templates and call them on demand by pressing CTRL + Enter

For example instead of writing all "System.out.println()" Jdeveloper has code template defined for this command as "sop". Type "sop" in Source editor and press CTRL + Enter Jdeveloper will complete the command for you.

You can define your own Code templates in Tools > Preferences > Code Editor > Code templates
 Note: You can define the general syntax with variables inside as shown in the slide


As an example i created a Java class called Tester i typed simple "main" and Pressed Ctrl + Enter Jdeveloper completed it as the main method in Java class later i types sop and pressed Ctrl + Enter which results as System.out.println()


Happy Jdeveloping ,
Baig

Sunday, April 25, 2010

Deploying MySQL based ADF application to Weblogic Server

Hi,
I will continue my last post here and we will simply deploy that application which is based on MySQL  database to weblogic server. You can follow the same steps to deploy any ADF application like ADF application based on Oracle database (for Oracle based applications we dont have to provide any external Jar files to Weblogic server)

This post you might feel lengthy but it hardly takes 10-15 minutes to complete all steps


Pre-requisites:
- Weblogic server Domain is created (in my case name it is "adf_test" on local host and port 7001)
Check the Oracle fusion developer guide to know how to create domain
- Connection to Weblogic server named as TestingServer in the resource palette 
- My SQL Connect/J Driver is in Domain/lib folder for example
C:\oracle\Middleware\user_projects\domains\adf_test\lib folder

Steps summary:
a) Creating database source for MySQL database in Weblogic server.
b) Setting Application properties for deployment
c) Creating deployment profiles for ADF application.
d) Deploying the application
e) Running the application


a) Creating database source for MySQL database in Weblogic server:

- Start the weblogic server domain and enter the following address in your browser.
http://localhost:7001/console

- Enter user and password (the one you provided while creating domain) default user is "weblogic" and password is "weblogic1"

- Click the Database source under the JDBC heading if activate changes button is appearing click it before
 
- Click New Button on Data source Page
- Enter information as shown in the slide and press Next
Note that the JNDI name is important we will use the same name for our application.
- Leave the defaults press Next
- Enter Database information and Press Next
- Test the Configuration make sure MySQL database is up and running Press Next if Test is successful.
- Click on AdminServer and Click Finish.
- New Data source has been added in JDBC sources as shown in the slide.


Saturday, April 24, 2010

Connecting MySQL Database with Jdeveloper 11g


Hi all,

In order to create ADF application on based on MySQL database you need some little different steps to work with it. Possibly you will hit by some bugs and for example you cannot create EOs and VOs by using normal Business Component Wizard you have to create Entity object, View Objects, Application Module manually (as i experienced). To connect mysql from any J2EE application you need to work with special driver called Connect/J.

Enough talking lets get into the steps

Pre-requisites:
- Download MySQL from mysql website
- Install MySQL (as simple any blind man can do the installation)
- Make sure MySQL database is up and running (Windows services MySQL 5.1)
 Note: I have one table called Mytable in mysql database named "mysql"


- Download Connect/J and extract it on your computer
- Copy the mysql-connector-java-5.1.12-bin.jar file and paste into
C:\oracle\Middleware\user_projects\domains\\lib
(it is required you to create a custom domain in weblogic server to deploy your applications) 
- Rename the Jar file to mysqljdbc.jar for ease of administration.


Creating connection in Application:

- Create New ADF fusion based on Fusion application template.
- Create connection named mysqlconn
- Enter settings as shown in the slide (its the defaults of mysql)
- Click the Browse button with the Library
- Create New on the Left side Add an Entry called MYSQL in User Section
- Select Classpath and Choose Add Entry and select the path where you have putted the mysqljdbc.jar file
- Click OK

- Test the Connection

Creating EOs, VOs and AM:
- I am not going into detail (if you are regular blog visitor you know the rest) of these steps just for help you can follow the important slides.
- Right click on Model Page and Choose New Entity Object


 - Right click MyTableEO and choose New Default View Object.

 - Create Application Module

- Add an Instance of MyTableVO

- Right Click Application Module Choose Run
- Business Component Browser will open which means our Model project is Working OK


-Create a Basic JSF page and Drag and Drop ADF Read-only Table on the page


Note: You might not able to run it from integrated weblogic server because of our mysqljdbc.jar is not in classpath of the integrated weblogic server 

Next Step: Deploying MySQL based ADF application to Weblogic Server


Cheers,
Baig

Saturday, April 17, 2010

Working with Placeholder Data Controls in Oracle ADF

Hi,

Sometimes in Application development it is required to create UI (User Interface) before the actual database table or entities are available or you want to show someone the features / demo of your application without any database involve then what to do in this case?

Well in Oracle ADF "Placeholder Data Controls" solves this problem. You can create your data controls, define attributes manually and populate them with sample data or import the CSV file. Later when real data is available you can easily link you Data Controls to actual entities.

In this post:
- I will create a simple Data Control names "SalesDC" and create inside "SalesData" Collection.
- I will create a 3 different Graphs based on SalesData Collection


Steps to follow:

- Right click on Model project Choose New
- Go to Data Controls section and Choose Placeholder Data control Press OK

- Enter the name of the Data Control e.g "SalesDC"

- Right click the Data control and choose "Create Placeholder Data type"


- Change the name of your collection at the top in this slide as shown as "SalesData"
- Define your attributes and their data types

- Click Sample Data tab page and enter sample data or import from CSV and Click OK


- Thats all now you can use this data controls and collection to create your User interface with some runtime limitations (Create, Update, Delete operations)

I have created one JSF page based on Oracle 3 column template and i am using 3 different types of Graphs components to represent my data for demos on different facet by just simply drag and drop the DC collection on the page as shown in the slides


On Run-time Page would look like this

Feel free to comment you can Download sample workspace

More info Check Oracle Fusion Developer guide topic
Designing a Page Using Placeholder Data Controls

Happy Jdeveloping,
Baig

Tuesday, April 13, 2010

Creating Pages with Regions in Oracle ADF

Hi all,

In Oracle ADF you can create JSF pages which includes page fragments (A page fragment is a JSF JSP document (file extension is .jsff) that renders as content in another JSF page).

The purpose of page fragments is nothing but re-usability. You can use the same page fragments on different pages with the help of bounded task-flows. The pages with fragment could appears as Regions (fixed visibility) on JSF page you can also create pages with Dynamic Regions (Dynamically visibility on run-time based on some action or condition).

In this example i will create 2 Bounded task flows called "dept-flow" and "emp-flow" with page fragments respectively and later i will display both fragments on a single page as simple Regions.

The result would be like this

Note: Few of the following steps are not important to create pages with Regions but would helpful to understand the concept with examples specially for people coming from 4GL background.

I assumed that you have already setups the project with Hr Connection, employees, departments EOs with default VOs and AM (if you new to ADF please check the my older posts)

Creating Bounded Task flows and Page Fragments:
- First step is to create bounded task-flow. Right click Choose New on ViewController Project and select ADF Task Flow in Web Tier > JSF category

- Named it as "dept-flow" as shown in the slide make sure Create as Bounded Task Flow and Create with Page Fragments already selected.

- Drop a View activity named it as "dept" on the Task flow double click it and create a page with fragments.
Note: Change the directory at the end as public_html\fragments to keep your fragments separate

- Create the dept page as shown in the slide by dropping a vertical panel splitter and ADF read-only table at the first facet and ADF form in the second facet both from DepartmentsView DataControls iterators (as shown in the slide)

- Set the Partial trigger property of the Form panel layout component so it will change its data according to the af:table for DepartmentsView